


TL;DR:
- Proper furniture disassembly prevents damage during moving and keeps the timeline on track.
- Disassemble oversized furniture like beds, wardrobes, and sectionals, while protecting fragile antiques intact.
Furniture disassembly for moving is the process of taking apart large or complex furniture pieces so they are easier and safer to transport. The industry term for this practice is “furniture breakdown,” and professional removalists treat it as a core step in any residential relocation. Done well, it protects your furniture, your walls, and your moving timeline. Done poorly, it causes scratches, stripped screws, and delays that push a whole move off schedule. This guide covers which pieces to disassemble, what tools you need, how to do it safely, and how to put everything back together at the other end.
Oversized furniture is a leading cause of residential moves falling behind schedule. Forced last-minute breakdowns in narrow hallways cause damage to both the furniture and the walls around it. Planned disassembly before moving day removes that risk entirely.
The furniture pieces that most commonly require breakdown include:
Not everything needs to come apart. Small side tables, solid timber antiques, and glued pieces are often safer moved intact. Fragile antiques and glued furniture can be damaged irreparably if disassembled. For those pieces, professional equipment and careful wrapping is the better approach.
Before you decide, measure. Add 2–3 inches of clearance on all sides of each piece when comparing its dimensions to your doorways, hallways, and stairwells. That buffer prevents damage and keeps the move flowing.
The right tools make furniture assembly and disassembly faster and prevent damage. Gather everything before you start, not mid-job.
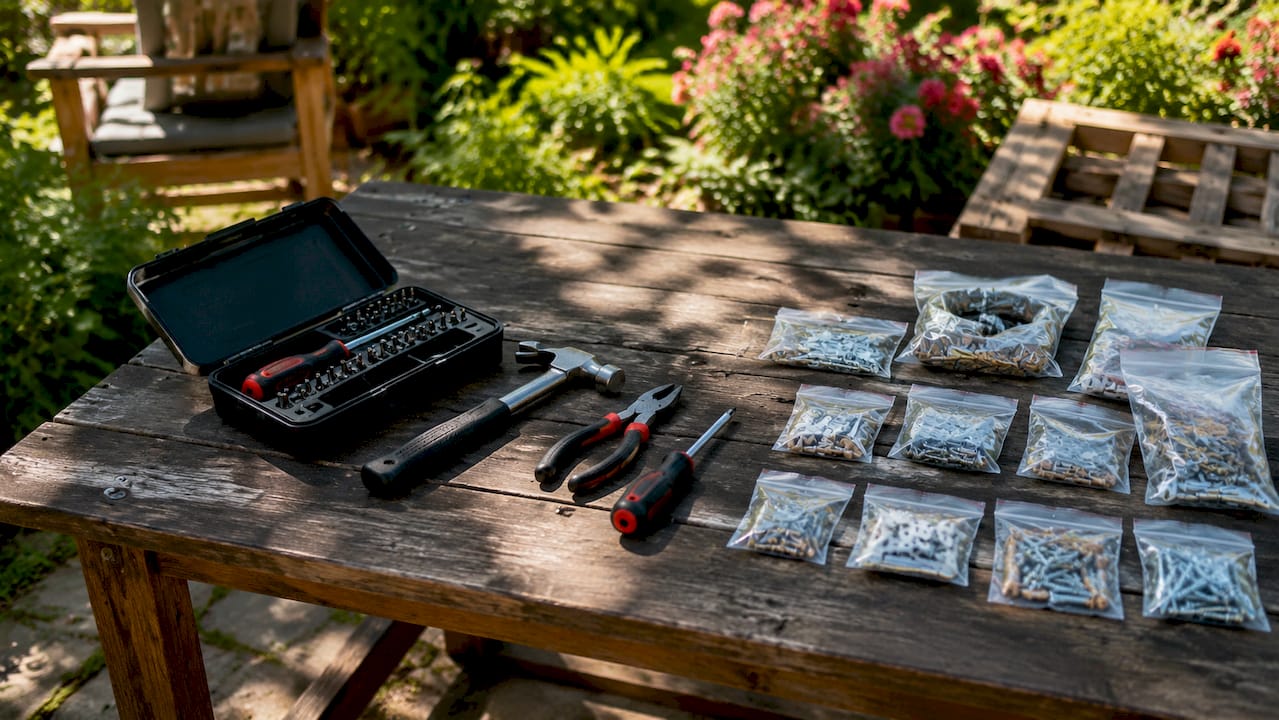
| Tool | Purpose |
|---|---|
| Manual screwdrivers (flathead and Phillips) | Removing screws on timber and flat-pack furniture |
| Electric screwdriver with adjustable clutch | Faster removal without stripping holes |
| Allen keys (hex keys) | Flat-pack furniture bolts and cam locks |
| Adjustable wrench and pliers | Nuts, bolts, and stubborn fittings |
| Rubber mallet | Separating press-fit joints without damage |
| Zip-lock bags and marker pen | Storing and labelling hardware |
| Packing tape | Securing hardware bags to furniture parts |
| Moving blankets and plastic wrap | Protecting panels and surfaces |
| Smartphone or camera | Photographing assembly before teardown |
Empty every drawer and remove all accessories before you start. Detach any electronics or cables attached to desks. Take doors off wardrobes first as they are the heaviest and most awkward part to manage.
Pro Tip: Photograph each piece of furniture from multiple angles before you touch a single screw. Those photos become your reassembly blueprint and save significant time at the other end.
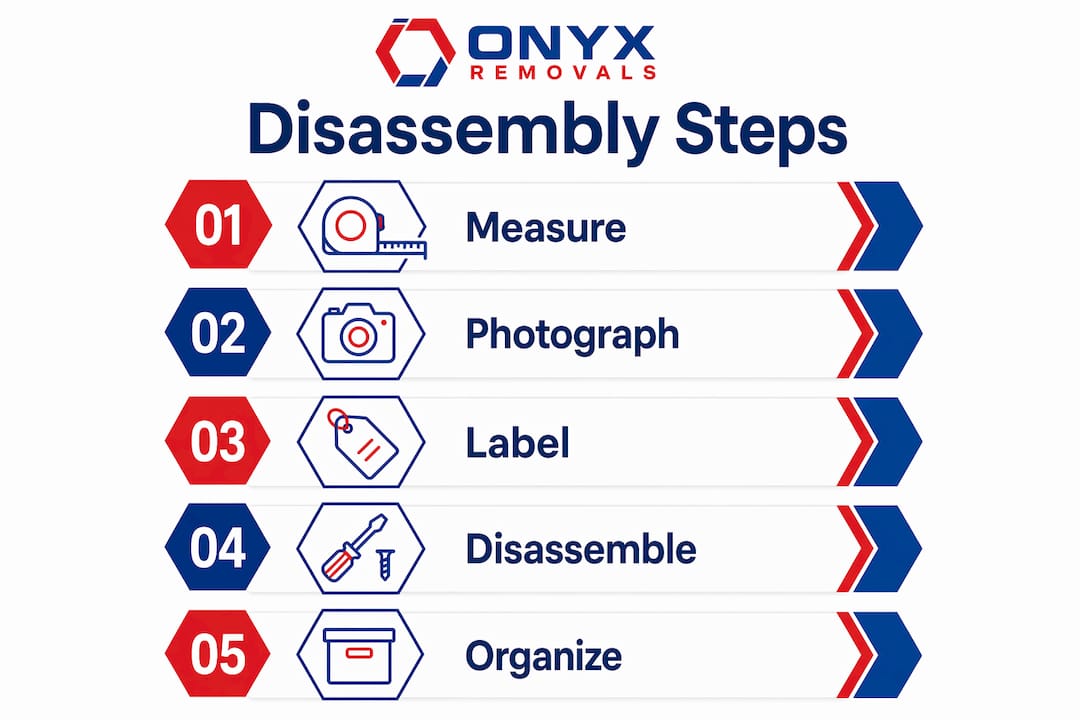
Labelling hardware bags and photographing furniture before disassembly significantly improves reassembly accuracy. Systematic documentation is the difference between a confident reassembly and a frustrating one.
A methodical order protects both the furniture and the people moving it. Work from the top down and from the outside in.
Beds. Strip all bedding and remove the mattress first. Lean it against a wall. Unscrew or unbolt the headboard from the side rails, then detach the footboard. Stack the rails flat and bag all bolts immediately. If the base has a slatted frame, remove the slats and bundle them together with packing tape.
Dining tables. Flip the table upside down onto a moving blanket. Unscrew the legs at the apron. On tables with a central pedestal, remove the base plate first. Keep all hardware in one labelled bag taped to the underside of the tabletop.
Wardrobes. Remove doors by lifting them off their hinges. Take out all shelves and drawers. If the wardrobe is large, unscrew the back panel and separate the side walls from the top and base. Have a second person support each panel as it comes free.
Flat-pack furniture. Avoid high-power drills on flat-pack pieces as they strip pre-drilled holes. Use an electric screwdriver with an adjustable clutch or hand tools instead. This protects the particle board and MDF panels from splitting.
Sectional sofas. Locate the connecting clips or brackets underneath the join. Unclip or unbolt them, then slide the sections apart. Do not drag sections across the floor. Lift each piece clear to avoid tearing the fabric on the underside.
Pro Tip: Always have a second person present when separating large panels or frames. One person supports the weight while the other removes the final fasteners. Trying to do this alone risks dropping a panel on a floor or wall.
For any piece that feels genuinely complex or valuable, expert furniture disassembly services are worth considering. Professional removalists carry the right tools and know the common failure points on popular furniture ranges.
Organisation during the move determines how smooth reassembly will be. Losing a single cam bolt from a wardrobe can hold up an entire room for days.
Good labelling practice applies to boxes too. A clear labelling system for moving boxes follows the same logic as labelling furniture parts: specificity beats speed every time.
Reassembly is where most DIY furniture disassembly and moving jobs fall apart. The physical move is done, everyone is tired, and the temptation is to rush.
Start from your photos. Lay out all parts and hardware for one piece before you begin. Match each bag to its labelled panel. Follow the original assembly order in reverse, working from the base up.
The most common mistakes include:
Booking professional furniture assembly services 1–2 weeks before your move is recommended for complex pieces like Murphy beds or large custom wardrobes. Many professional moving companies include basic disassembly and reassembly in hourly-billed moves, but always confirm whether it is included or an additional cost before you book.
For Melbourne families managing a full house move, furniture disassembly in Melbourne handled by experienced removalists removes the reassembly guesswork entirely.
Planned furniture breakdown before moving day protects your furniture, prevents property damage, and keeps your move on schedule.
| Point | Details |
|---|---|
| Measure before deciding | Add 2–3 inches of clearance to furniture dimensions before comparing to doorways and hallways. |
| Not everything needs disassembly | Antiques and glued pieces are often safer moved intact with professional equipment. |
| Label hardware to the piece | Tape hardware bags directly to the furniture part they came from to prevent mix-ups. |
| Store panels vertically | Large flat panels stored upright during transport are far less likely to warp. |
| Photograph before teardown | Photos of assembled furniture are your most reliable reassembly guide. |
Moving furniture is one of those tasks where confidence and preparation look identical from the outside but produce very different results. I have watched families spend an entire afternoon trying to reassemble a wardrobe because the hardware bags ended up in a box labelled “miscellaneous.” I have seen a beautiful solid timber dining table scratched beyond repair because someone decided it would fit through the doorway assembled. It did not.
The detail most people overlook is the hardware labelling step. Everyone photographs the furniture. Far fewer people tape the hardware bag to the actual panel it came from. That one habit, done consistently, eliminates the single most common reassembly problem.
The other thing worth saying plainly: knowing when to call a professional is a skill, not a concession. Complex pieces like Murphy beds, custom built-ins, and large glass-door display cabinets carry real risk of damage during DIY disassembly. The cost of a professional furniture assembly and disassembly guide or a professional service is almost always less than the cost of replacing a damaged piece. Patience and method protect furniture. Rushing destroys it.
— Dinshaw
Moving a full household in Melbourne is a significant undertaking. Onyx Removals specialises in residential moving services that include expert furniture disassembly and reassembly as part of a complete, stress-free move. The team brings the right tools, protective materials, and experience to handle everything from flat-pack bedroom suites to large custom wardrobes.

Book your move at least 1–2 weeks ahead to secure your preferred time slot and allow the team to plan for any building access requirements. Onyx Removals provides personalised quotes so you know exactly what is included before moving day arrives.
Bed frames, large wardrobes, sectional sofas, dining tables, and flat-pack furniture typically require disassembly. Any piece that cannot fit through a doorway with 2–3 inches of clearance on all sides should be broken down before moving day.
No. Fragile antiques and glued pieces risk irreparable damage if disassembled. Move them intact using professional equipment and protective wrapping.
Many professional moving companies include basic disassembly and reassembly in hourly-billed moves. Always confirm whether it is included or charged separately before you book.
Tape hardware bags directly to the furniture part they came from. Label each bag with the piece name and photograph it before wrapping the panel.
Book at least 1–2 weeks before your move, particularly for complex items like Murphy beds or large wardrobes. Early booking secures your preferred time slot and allows planning for any building access restrictions.

No Related Post


