


Packing up your entire house can feel overwhelming, with boxes piling up faster than you can label them. But most people never realise that one survey found nearly 25 percent of moving mishaps come from poor labeling or lost boxes. That statistic sounds like a nightmare, right? Here is the odd bit. Avoiding that chaos is as simple as spending a few extra minutes with some coloured markers and sticky labels.
| Key Point | Explanation |
|---|---|
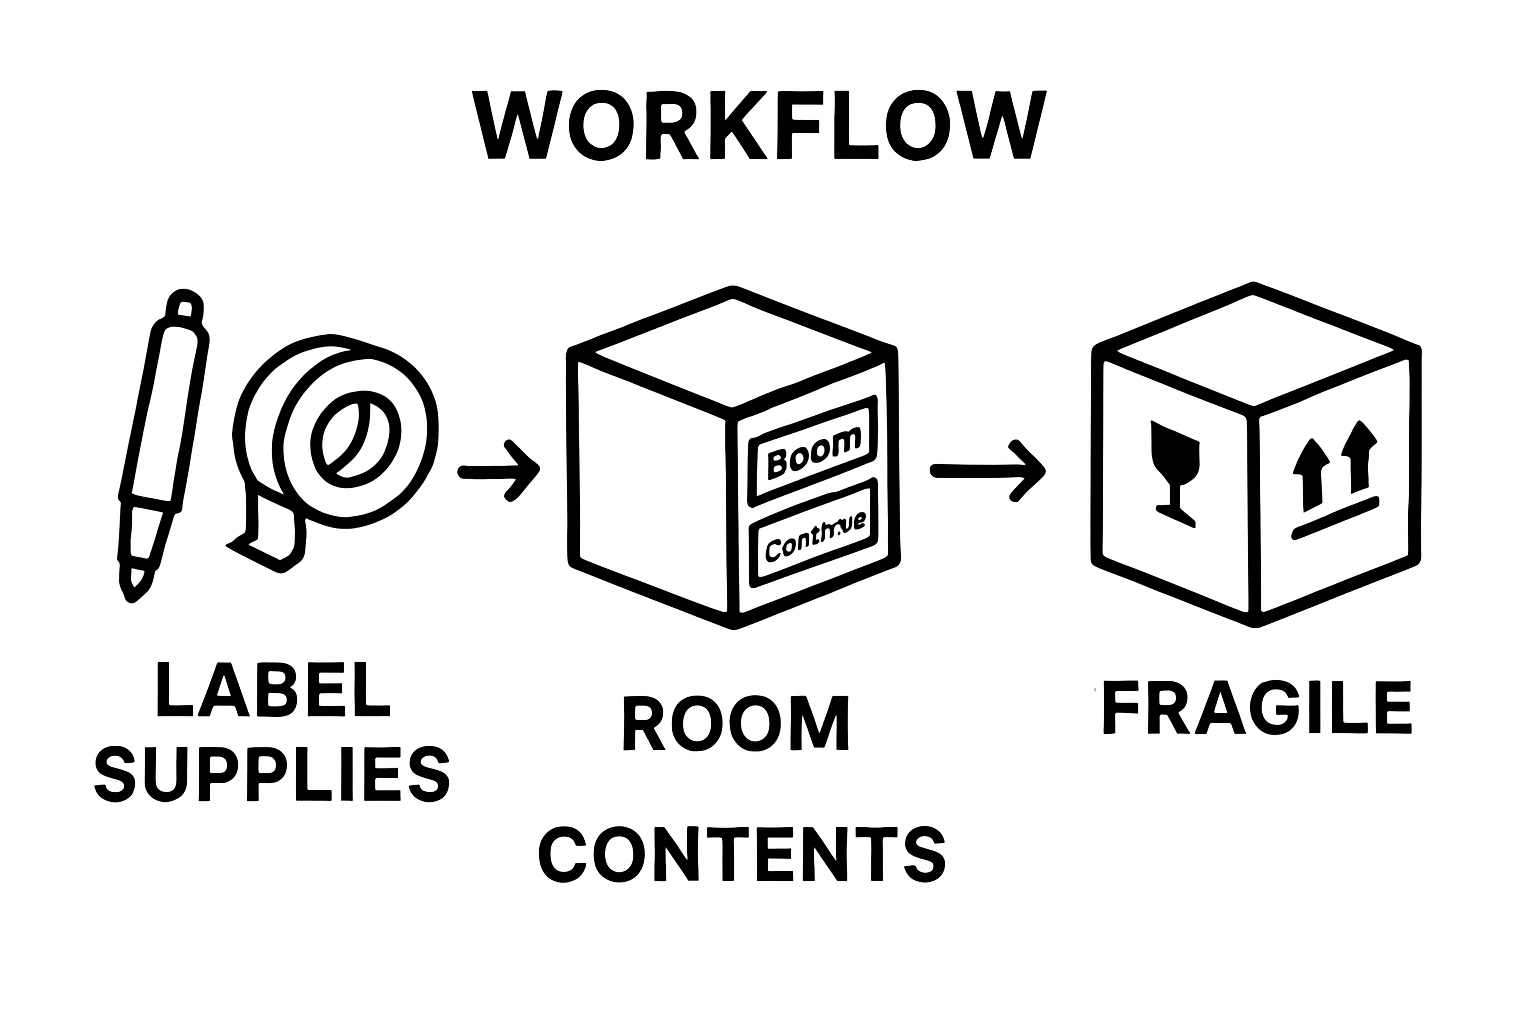
| 1. Gather essential labelling supplies | Start your moving project with permanent markers, packing tape, and colour-coded stickers to ensure an organized process. |
| 2. Categorise items systematically | Sort belongings by room and type to simplify packing and unpacking, including fragile items and essential everyday items. |
| 3. Create a clear labelling system | Develop a comprehensive system that includes destination room, content description, and handling instructions for each box. |
| 4. Label boxes with consistent information | Clearly mark each box with room names, content details, box numbers, and handling instructions for easy identification. |
| 5. Review labelling accuracy before moving | Conduct a thorough check of all labels against your inventory list to ensure accuracy and prevent misplacement during the move. |
Effective box labelling starts with strategic preparation and the right supplies. Before diving into your moving project, assembling a comprehensive labelling toolkit will transform what could be a chaotic process into a streamlined, organized experience. Your goal is to create a system that allows for quick identification, efficient unpacking, and minimal confusion during your relocation.
Starting your moving preparation requires collecting specific tools that will make labelling swift and professional. You will need permanent markers in multiple colours, preferably waterproof and with thick tips for clear, bold writing. Opt for markers that won’t smudge or fade during transportation. Alongside markers, acquire high-quality packing tape to secure your labelling and reinforce box edges. Selecting robust tape prevents labels from peeling off and maintains the integrity of your markings throughout the moving process.
Your labelling kit should also include colour-coded stickers or coloured tape to create a visual sorting system. These additional colour markers help quickly differentiate boxes by room, fragility, or priority. For instance, blue stickers might indicate kitchen items, while red could signify fragile contents. According to Burwood Council’s Moving Checklist, having a systematic approach reduces moving day stress and streamlines unpacking.
The practical items you will need include:
Before purchasing, assess the volume of items you are moving. For smaller moves, a basic kit with two markers and standard packing tape might suffice. Larger relocations might require more comprehensive supplies. Consider purchasing slightly more materials than you initially estimate to account for unexpected packing needs or potential label replacement.
Here is a summary table of the essential labelling materials, including their main purposes and recommended features for an efficient moving experience.
| Material | Purpose | Recommended Features |
|---|---|---|
| Permanent markers | Writing clear, bold labels on boxes | Multiple colours, waterproof, thick tip |
| Strong packing tape | Securing labels and reinforcing box edges | Durable, sticks well, tear-resistant |
| Colour-coded stickers | Creating a visual sorting system for categories | Bright colours, easy to spot |
| Large clear labels/sheets | Providing space for detailed information | Writable, easily visible, adhesive |
| Clipboard/flat surface | Support for writing labels clearly and legibly | Portable, sturdy |
By investing time in gathering the right labelling supplies upfront, you create a foundation for a smooth, organized moving experience. Your future self will appreciate the forethought and precision you applied during this critical preparation stage.
Successful moving begins with intelligent item categorisation, transforming a potentially overwhelming process into a structured, manageable task. Systematically sorting your belongings creates a clear roadmap for packing, labelling, and ultimately unpacking in your new space. The key is developing a logical classification system that reflects how you live and use your possessions.
Start by walking through each room and mentally dividing items into distinct categories. Fragile items require special attention and separate handling. Glassware, artwork, electronics, and delicate decorative pieces should be grouped together, ensuring they receive extra protective packaging and prominent labelling. Kitchen items, for instance, might be subcategorised into cookware, utensils, small appliances, and breakable items like ceramic dishes or wine glasses.
Consider creating broad categorical groups that make sense for your lifestyle. These might include essential everyday items, seasonal belongings, sentimental objects, and rarely used equipment. According to the Department of Agriculture, Fisheries and Forestry, developing a clear numbering and categorisation system helps track your items throughout the moving process and minimises potential loss or confusion.
Your categorisation strategy should also account for the specific requirements of different spaces:
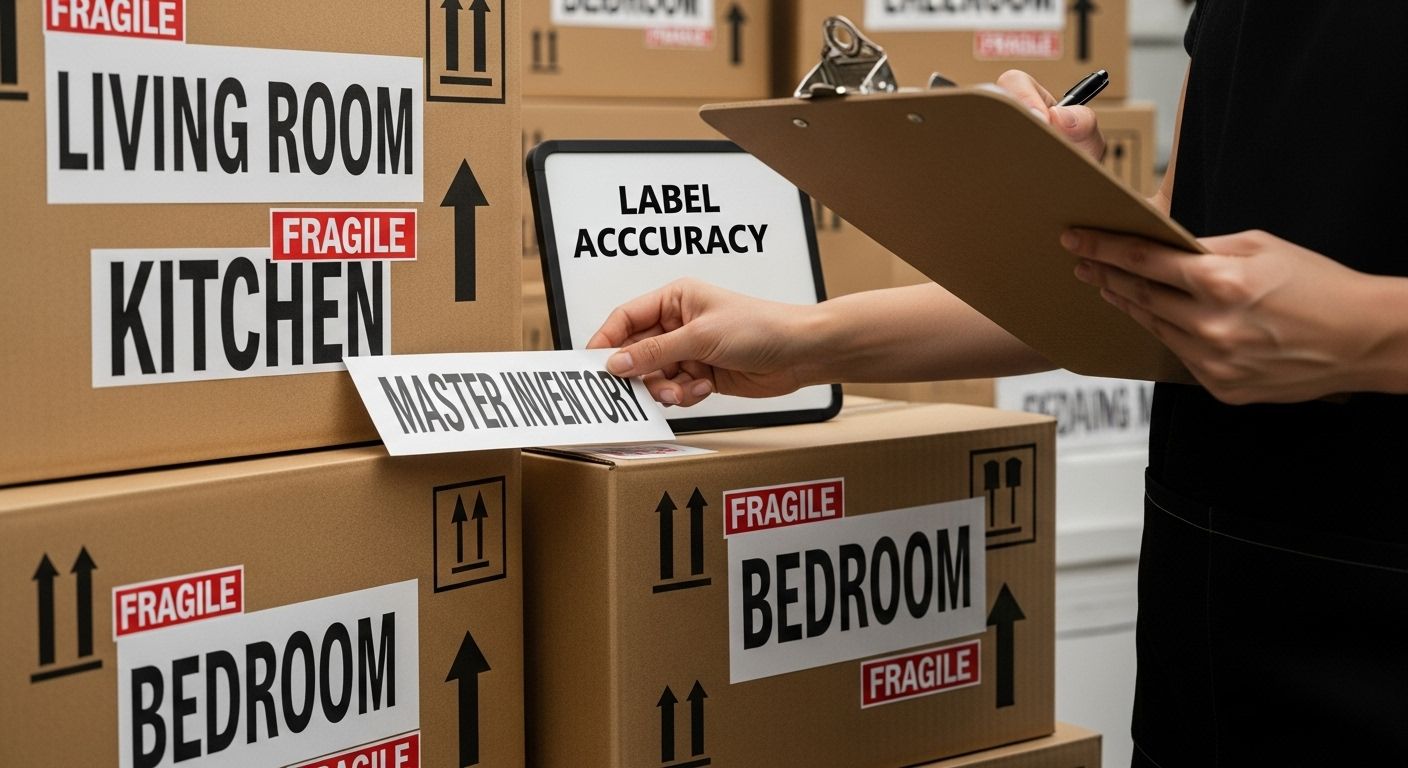
As you categorise, create a master inventory list that corresponds with your box labelling system. This documentation serves two critical purposes: it provides a comprehensive overview of your belongings and creates a reference point for tracking items during transit. Number each box within its category and record its contents, making unpacking and verifying your items straightforward.
Remember that effective categorisation is about more than just sorting. It is about creating a logical system that reduces stress and streamlines your moving experience. By investing time in thoughtful organisation now, you will save considerable energy and frustration during the actual move and subsequent unpacking process.
Developing a robust labelling system transforms your moving process from chaotic to controlled. A well-designed system acts as a roadmap, guiding movers and helping you track your belongings with precision and confidence. The objective is to create a labelling approach that is both comprehensive and intuitive, allowing anyone handling your boxes to understand their contents, destination, and handling requirements instantly.
Comprehensive box labels should include multiple critical pieces of information. Start with the destination room, which helps movers and yourself quickly identify where each box belongs. Next, include a brief but descriptive content summary that provides context beyond just the room. For fragile items, add a bold “FRAGILE” warning to ensure careful handling. Numbering each box sequentially within its category creates an additional tracking mechanism that complements your inventory list.
According to the Department of Agriculture, Fisheries and Forestry, creating a detailed labelling system involves consistent documentation and clear identification. Your labelling strategy should follow a uniform template that captures essential details without becoming overly complicated.
Consider implementing a colour-coded system to enhance visual organization:
Position your labels strategically on multiple sides of each box, ensuring visibility regardless of how boxes are stacked. Use waterproof, permanent markers to prevent smudging or fading during transit. Include additional practical information such as the box’s weight, which helps movers handle items appropriately and prevents potential injuries from unexpectedly heavy containers.
Your labelling approach should also account for unpacking efficiency. Include a small arrow indicating which side should face upright, and mark boxes containing items you will need immediately upon arrival with a “OPEN FIRST” notation. This simple addition can save significant time and frustration during those initial chaotic moving days.
By investing careful thought into your labelling system, you create a structured approach that reduces stress, minimizes potential loss, and ensures a smoother transition to your new space. Remember, a few extra minutes spent labelling carefully can save hours of confusion and searching later.
With your categorisation and labelling strategy developed, the next critical phase involves meticulously applying your system to each box. This step transforms your organizational plan from theoretical to practical, ensuring every container is clearly identified and trackable. Your goal is to create labels that communicate essential information quickly and accurately.
Start with the destination room as the primary identifier on each box. Write this information prominently on the top and at least one side of the container, using large, legible letters. For instance, “KITCHEN”, “MASTER BEDROOM”, or “HOME OFFICE” provides immediate context for movers and helps streamline the unpacking process. Next, add a brief content description that offers more specific details about what the box contains. Rather than writing “Miscellaneous”, opt for precise descriptions like “Dinner Plates and Serving Bowls” or “Winter Clothing and Bedding”.
According to the Department of Agriculture, Fisheries and Forestry, developing a consistent numbering system enhances tracking and organization. Assign each box a unique number that corresponds with your master inventory list. This approach allows you to quickly verify that all boxes have arrived and nothing has been misplaced during transit.
Important labelling elements to include on each box:
Pay special attention to boxes containing fragile or valuable items. Use bright, contrasting colours or special stickers to make these containers stand out. Red or fluorescent orange labels with “FRAGILE” written in bold letters will signal to movers that extra caution is required. For electronic equipment or items with specific temperature or handling requirements, include additional notes that provide clear guidance.
When labelling, choose a consistent location on each box. Typically, the top and one side work best, ensuring visibility regardless of how boxes are stacked. Use permanent markers that won’t smudge or fade, and write clearly enough that the information can be read from a short distance. If possible, create labels while the box is still open, allowing you to double-check its contents before sealing and marking.
By dedicating time and attention to thorough, systematic labelling, you create a foolproof method for tracking and managing your belongings. Each carefully labeled box becomes a piece of a larger organizational puzzle, reducing stress and potential confusion during your move.
The final critical step in your moving preparation is a comprehensive review of your labelling system. This meticulous verification process transforms your careful planning into a reliable roadmap for relocation. Think of this stage as your quality control checkpoint, where you’ll systematically confirm that every box is correctly identified, documented, and ready for transportation.
Begin by gathering your master inventory list and walking through each room, comparing the physical boxes against your documentation. Cross-reference box numbers, room destinations, and content descriptions to ensure absolute accuracy. Pay special attention to fragile or high-value items, double-checking that these containers have prominent handling instructions and appropriate protective markings. This methodical approach minimizes the risk of misplacement or accidental damage during the moving process.
According to WorkSafe Victoria, labels should be legible, durable, and clearly visible. Examine each label to confirm the writing is crisp, unsmudged, and large enough to be read easily. If any labels appear faded or unclear, take a moment to rewrite them using your permanent marker. Ensure labels are positioned on multiple sides of the box, allowing identification regardless of how items are stacked or positioned during transit.
Critical verification points include:
Create a digital backup of your inventory list by taking photographs of each labeled box. These images serve as additional documentation, providing visual proof of your careful organization. They can be invaluable if any disputes or tracking issues arise during the move. Sync these images to a cloud storage service or email them to yourself for easy access.
Consider conducting a final walkthrough with your moving team or a trusted friend. A fresh set of eyes can often catch subtle errors or inconsistencies you might have overlooked.
This checklist summarises the key points to verify before moving, ensuring that all labelling and organisational steps have been properly completed for a smooth relocation.
| Verification Step | What to Check | Why It Matters |
|---|---|---|
| Match box numbers to inventory | Ensure each box number aligns with your inventory list | Prevents loss and confusion |
| Confirm room destination labels | Labels clearly state box destinations | Aids efficient unpacking |
| Check fragile item markings | Special markings for fragile or valuable boxes | Ensures careful handling |
| Verify content descriptions | Accurate and specific content notes on each box | Quick identification of belongings |
| Ensure handling instructions | Warnings like “FRAGILE” are clear and visible | Reduces risk of damage |
| Review label legibility and placement | Writing is bold, readable, and on multiple box sides | Identification regardless of stacking |
| Digital backup of inventory | Photos or digital list available | Added security; reference if needed |
| This collaborative review provides an extra layer of quality control and can help identify any last-minute labelling adjustments needed before the moving truck arrives. |
By investing time in this comprehensive review, you transform your labelling from a simple organizational task into a strategic system that protects your belongings and reduces moving day stress. Your meticulous attention to detail ensures a smoother, more predictable relocation experience.
Organising your boxes and creating a detailed labelling system helps reduce stress and confusion on moving day. But even with the best preparation, the process can be physically and emotionally demanding. Keeping track of fragile items, ensuring clear labels, and double-checking an inventory list is time consuming and can feel overwhelming if you’re juggling other responsibilities.
When you want peace of mind and hands-on help, trust the experts at Onyx Removals. Our team uses professional packing and labelling methods inspired by industry best practices, so every box arrives where it belongs. We understand the importance of clear room-by-room labels, organised inventories, and safe handling for fragile and valuable goods. Let us handle the details while you focus on settling into your new space.
Is your moving day approaching fast? Take action today for a tailored solution that eliminates the guesswork. Get started with a stress-free, personalised move through our main site: Onyx Removals Melbourne. For more details on all available services, explore packing, storage and more on our comprehensive moving solutions page. Speak with our friendly team now and experience a truly streamlined relocation.
To efficiently label moving boxes, you will need permanent markers in multiple colours, strong packing tape, colour-coded stickers, large clear labels or label sheets, and a clipboard or flat writing surface.
An effective labelling system includes the destination room, a brief content description, box numbers, and handling instructions like ‘FRAGILE’. Consider using a colour-coded system for quick visual identification.
Fragile items should be grouped together and clearly marked with bold ‘FRAGILE’ labels. Use bright colours and special stickers to highlight these boxes for careful handling during the move.
Review your master inventory list against each labelled box to verify accuracy. Check that all labels are legible and positioned correctly. It’s also helpful to take photos of labelled boxes for a digital backup.
No Related Post


