


Moving artwork can make even the most organised person sweat. One cracked frame or smudged canvas and years of collecting can be undone in seconds. Here’s where it gets interesting. Professional art movers recommend using archival-grade packing materials instead of household items, yet so many people still reach for newspaper and old boxes. The safest way to move your treasured art is not what most folks expect.
| Key Point | Explanation |
|---|---|
| 1. Thoroughly assess your artwork first | Conduct a detailed inspection to document condition, materials, and vulnerabilities before starting the packing process. |
| 2. Gather premium protective materials | Use acid-free tissue paper, bubble wrap, and custom art boxes to ensure the safety of different artwork types during transport. |
| 3. Implement careful packing techniques | Wrap each artwork securely, ensuring no direct surface contact and providing cushioning to minimize risks during transit. |
| 4. Plan transportation meticulously | Develop a detailed strategy considering route, vehicle type, and environmental factors to ensure safe delivery of your artwork. |
| 5. Unpack artworks patiently and systematically | Create a clean environment and inspect each piece thoroughly upon arrival, ensuring proper placement and secure hanging. |
Moving artwork requires a strategic and careful approach that begins with a comprehensive assessment of your pieces and their specific transportation needs. Before you pack a single frame or sculpture, understanding the unique characteristics and vulnerabilities of your artwork will determine the success of your entire moving process.
Start by conducting a detailed visual inspection of each artwork. Look closely at the materials, condition, and structural integrity. Paintings, for instance, have different handling requirements compared to sculptures or delicate glass installations. Fragile items like ceramic pieces, watercolours, and antique frames demand extra attention and specialised packing techniques.
Measure each artwork precisely and document its current condition. Take clear photographs from multiple angles, noting any existing scratches, cracks, or areas of potential weakness. This documentation serves two critical purposes: creating a baseline record of the artwork’s condition and helping you determine the appropriate packing materials and methods.
Classify your artworks into different categories based on their material composition and fragility. According to Museums & Galleries of NSW, paper objects, paintings, and framed pieces require specific handling approaches. Create separate packing strategies for:
Professional movers recommend creating a detailed inventory that includes each artwork’s dimensions, weight, material type, and any special handling instructions. This inventory will be crucial when selecting appropriate packing materials and communicating requirements to your moving team.
By thoroughly assessing your artwork before moving, you establish a solid foundation for a safe and successful relocation. Each careful observation and documentation step reduces the risk of damage and ensures your cherished pieces arrive at their destination in pristine condition.
After meticulously assessing your artwork, the next critical phase involves gathering specialised packing materials that will protect your precious pieces during transportation. The right supplies can mean the difference between a safe arrival and potential damage.
Acquiring high-quality packing materials is not about purchasing the cheapest options, but investing in protection that matches your artwork’s unique requirements. Professional art movers recommend using archival-grade materials that provide maximum protection. According to National Archives of Australia, acid-free tissue paper serves as an excellent first layer of protection for delicate paper-based artworks.
Start with fundamental protective materials such as acid-free tissue paper, bubble wrap with large bubbles, rigid cardboard sheets, custom-sized art boxes, packing tape, foam padding, and corner protectors. Consider purchasing specialty art moving kits that include multiple protective layers designed specifically for different artwork types. Larger pieces might require wooden crates or custom-built transportation containers for additional security.
Different artworks demand different protective strategies. Canvas paintings require gentle yet firm wrapping techniques that prevent movement while avoiding direct contact with the painting’s surface. Sculptures need custom foam padding that supports their unique shapes and prevents shifting during transit. Glass-framed pieces need additional corner protection and cushioning to absorb potential impacts.
Be prepared to invest in high-quality materials that match each artwork’s specific requirements. Your packing materials checklist should include:
Remember that improvising with household materials like newspaper or regular cardboard can potentially damage your artwork. Professional-grade materials might seem more expensive initially, but they provide crucial protection that prevents irreplaceable damage.
Carefully selecting and preparing your packing materials demonstrates your commitment to preserving your artwork’s integrity throughout the moving process.
Here is a table summarising the essential art packing materials and their purposes, to make preparation easier.
| Material | Description | Purpose |
|---|---|---|
| Acid-free tissue paper | Soft, chemical-free paper | First protective layer for delicate surfaces |
| Large-bubble bubble wrap | Cushioning plastic wrap | Shock absorption and impact protection |
| Rigid cardboard sheets | Stiff support material | Prevents bending and adds structure |
| Custom art transport boxes | Specially sized cartons | Secure, snug fit for transport |
| Foam padding blocks | Soft blocks or inserts | Fills voids, supports 3D objects |
| Corner guards | Protective corners | Shields fragile frames from bumps |
| Packing tape (high-quality) | Strong adhesive tape | Secures layers and packages |
| Cotton gloves | Lint-free fabric gloves | Prevents oils and dirt transfer |
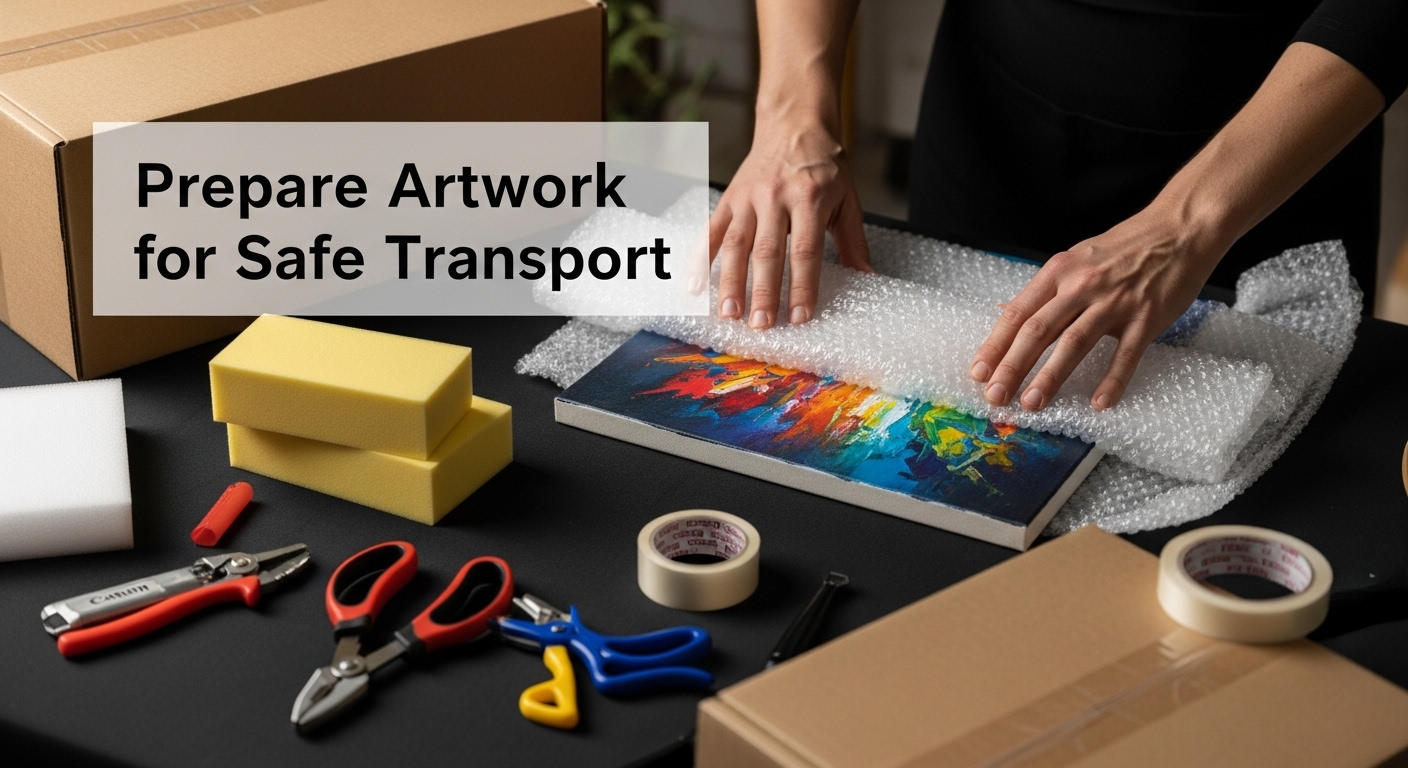
Preparing artwork for transportation requires a meticulous and methodical approach that transforms your careful assessment and material gathering into practical protective strategies. This step is about creating a protective environment that minimises risk and preserves your artwork’s integrity during transit.
Wear clean cotton gloves when handling artwork to prevent oils and dirt from transferring onto delicate surfaces. Begin by creating a foundational protective layer using acid-free tissue paper, which acts as a gentle barrier between the artwork and subsequent wrapping materials. For framed pieces, carefully inspect the frame’s condition and reinforce any weak points before wrapping.
Two-dimensional artworks like paintings and prints require specific wrapping techniques. Cover the front surface with brown paper or glassine paper to protect against potential scratches or dust accumulation. Then, wrap the entire piece in bubble wrap, ensuring the bubbles face outward to prevent direct pressure on the artwork’s surface. Use painter’s tape rather than standard packing tape to secure wrappings, as it leaves less residue and reduces the risk of damaging delicate surfaces.
Sculptures and three-dimensional pieces demand a more customised approach. According to NSW Education Standards Authority, ceramic and fragile items should be nestled in boxes filled with cushioning materials like shredded paper or bubble wrap to prevent movement during transport. Create custom foam supports that cradle the artwork, preventing lateral shifts and absorbing potential impact.
For particularly valuable or fragile pieces, consider creating a rigid support structure. This might involve constructing a custom wooden crate or using specialised art transport boxes with built-in shock absorption. Ensure each artwork has minimal room to move within its protective container.
Your preparation checklist should include:
By dedicating time and attention to preparing your artwork for transport, you significantly reduce the potential for damage. Each carefully wrapped piece represents a small victory in preserving your artistic treasures through their journey.
Below is a checklist table to help you verify your artwork is properly prepared and protected before moving.
| Preparation Task | Description |
|---|---|
| Document artwork condition | Inspect each piece, note existing damages, and take clear photos from all angles. |
| Measure and record size & weight | Note dimensions and weight to inform packing and handling needs. |
| Select appropriate packing materials | Choose archival-grade, acid-free, and protective materials as per item type. |
| Wrap and cushion adequately | Use layers of tissue, bubble wrap, and foam to prevent direct surface contact and movement. |
| Label and inventory boxes | Clearly label each package with handling instructions and track with a detailed inventory list. |
| Double-check securing before loading | Ensure all wrapping is firm but not overly tight and all items are protected from direct pressure. |
| Prepare transport and team | Arrange for suitable vehicle and brief movers on specific handling instructions per artwork type. |
Transporting artwork represents the most critical moment in your moving journey, where meticulous preparation meets careful execution. This stage demands unwavering attention and precision to ensure your valuable pieces arrive safely at their destination.
Professional art movers understand that transportation is about minimising potential risks through strategic planning. Begin by creating a detailed transportation plan that considers the route, vehicle type, and potential environmental challenges. Temperature, humidity, and road conditions can significantly impact your artwork’s safety during transit.
Select a vehicle with a stable, flat surface and minimal vibration. If possible, use a climate-controlled transport option for particularly sensitive pieces. Avoid overcrowding the transport space, which can lead to accidental impacts or pressure on delicate artworks. Position larger pieces vertically with proper support, ensuring they cannot shift during movement. Smaller artworks should be securely placed in custom boxes with additional padding to prevent any potential movement.
Careful loading is as crucial as the transportation itself. According to Museums & Galleries of NSW, paintings and framed works require specific handling techniques. When lifting and moving artwork, always use two hands and maintain a steady, controlled motion. For larger pieces, consider using team lifting techniques to distribute weight evenly and reduce the risk of accidental drops or sudden movements.
Prioritise creating a protective environment within your transport vehicle.
Use additional cushioning materials between artwork pieces to prevent direct contact. Secure boxes and wrapped artworks using soft straps or custom restraints that hold items firmly without applying excessive pressure.
Your transportation safety checklist should include:
Remember that the journey’s success depends on your patience and attention to detail. Drive cautiously, anticipate potential road challenges, and treat each artwork as a precious, irreplaceable treasure. By approaching artwork transportation with respect and methodical care, you significantly increase the likelihood of a successful, damage-free move.
Unpacking artwork represents the final and equally critical stage of your moving journey, where careful preparation meets the moment of revealing your treasured pieces. This step demands patience, precision, and a methodical approach to ensure your artwork emerges unscathed and ready to be displayed in its new environment.
Prepare a clean, stable workspace with ample room and soft surfaces before beginning the unpacking process. Choose an area with consistent temperature and minimal direct sunlight, avoiding areas near air conditioning vents or windows that might expose artwork to sudden environmental changes. Lay out soft, clean blankets or padded surfaces where you can carefully place each piece during inspection and positioning.
Begin by wearing clean, lint-free cotton gloves to prevent transferring oils or dirt onto delicate surfaces. Carefully remove outer packaging materials, working slowly and methodically. Do not rush this process, as hasty unwrapping can lead to accidental damage. Inspect each layer of protective wrapping, looking for any signs of compression, moisture, or potential damage that might have occurred during transit.
According to Museums & Galleries of NSW, systematic handling is crucial when settling artworks into their new location. Examine each piece thoroughly, comparing its current condition to the documentation and photographs you created before moving. Look for any subtle changes in paint texture, frame alignment, or potential stress points that might have developed during transportation.
Carefully select the final placement for each artwork, considering factors like light exposure, humidity, and potential temperature fluctuations. Avoid hanging pieces near heating vents, air conditioning units, or in direct sunlight, which can cause gradual deterioration. Use appropriate hanging hardware that matches the weight and size of each piece, ensuring secure and level installation.
Your artwork settling checklist should include:
Remember that settling artwork is not just about physical placement, but creating a protective environment that preserves your pieces for years to come. Take your time, remain patient, and treat each artwork with the respect it deserves during this final stage of relocation.
Protecting your cherished artwork during a move is not just about packing boxes. If you are feeling stressed over the thought of damaging fragile pieces, custom frames or valuable sculptures, know you are not alone. The guidelines in this article explain the importance of expert packing, climate mindfulness and gentle handling, but sometimes all the right materials and preparation still do not guarantee peace of mind.
Onyx Removals understands that irreplaceable pieces require professional solutions. Our experienced Melbourne removalists use industry-approved packing methods and personalised moving plans for artwork of any type or value. We handle inventory creation, custom crating, monitored transportation, and gentle unpacking into your new space. Each team member wears gloves and follows protocols similar to Australian gallery standards.

Do not risk your artwork with amateurs or generic movers. Let us take the worry out of your next move so you can focus on settling in and enjoying your collection. Speak to our team today through our contact page or explore all our professional moving services now. Your masterpiece deserves the very best protection this move. Reach out and secure your tailored quote before your moving date fills up.
To assess your artwork before moving, conduct a detailed visual inspection of each piece, noting its materials, condition, and structural integrity. Measure and document its dimensions, and take clear photographs from multiple angles, noting any existing damages to create a baseline record.
For moving delicate artwork, it is best to use premium protective materials such as acid-free tissue paper, large-bubble bubble wrap, rigid cardboard sheets, and custom art boxes. Archival-grade materials will provide the maximum protection needed to prevent damage during transit.
To prepare artwork for safe transport, wear clean cotton gloves, wrap the artwork in acid-free tissue paper, and cover it with brown or glassine paper. Use bubble wrap for additional cushioning, and secure the wrapping with painter’s tape. Ensure each piece is individually protected and securely packaged.
When unpacking artwork, create a clean, stable workspace with soft surfaces, and wear clean cotton gloves. Remove outer packaging slowly, inspect each piece for any damage, and compare its current condition with pre-move documentation. Carefully select display locations that avoid direct sunlight and extreme temperatures.
No Related Post


