


Did you know that nearly 70 percent of moving damage happens during furniture disassembly and reassembly? Moving bulky pieces can quickly become overwhelming without the right system in place. Understanding how to break down, pack, and set up your furniture safely can help you avoid costly mistakes and save hours on moving day. By following practical steps, you can protect your furniture and breeze through your next move with confidence.
| Key Point | Explanation |
|---|---|
| 1. Gather Essential Tools | Assemble screwdrivers, allen keys, and a rubber mallet to dismantle furniture safely. |
| 2. Create a Safe Workspace | Clear a spacious area, cover the floor, and ensure good lighting for disassembly. |
| 3. Label Components Meticulously | Use labels and photos to track parts for easy reassembly later. |
| 4. Use Protective Packing Techniques | Wrap disassembled parts carefully in moving blankets and secure hardware to prevent loss. |
| 5. Test Stability Post-Reassembly | Check furniture for alignment and tighten screws for safety after assembling. |
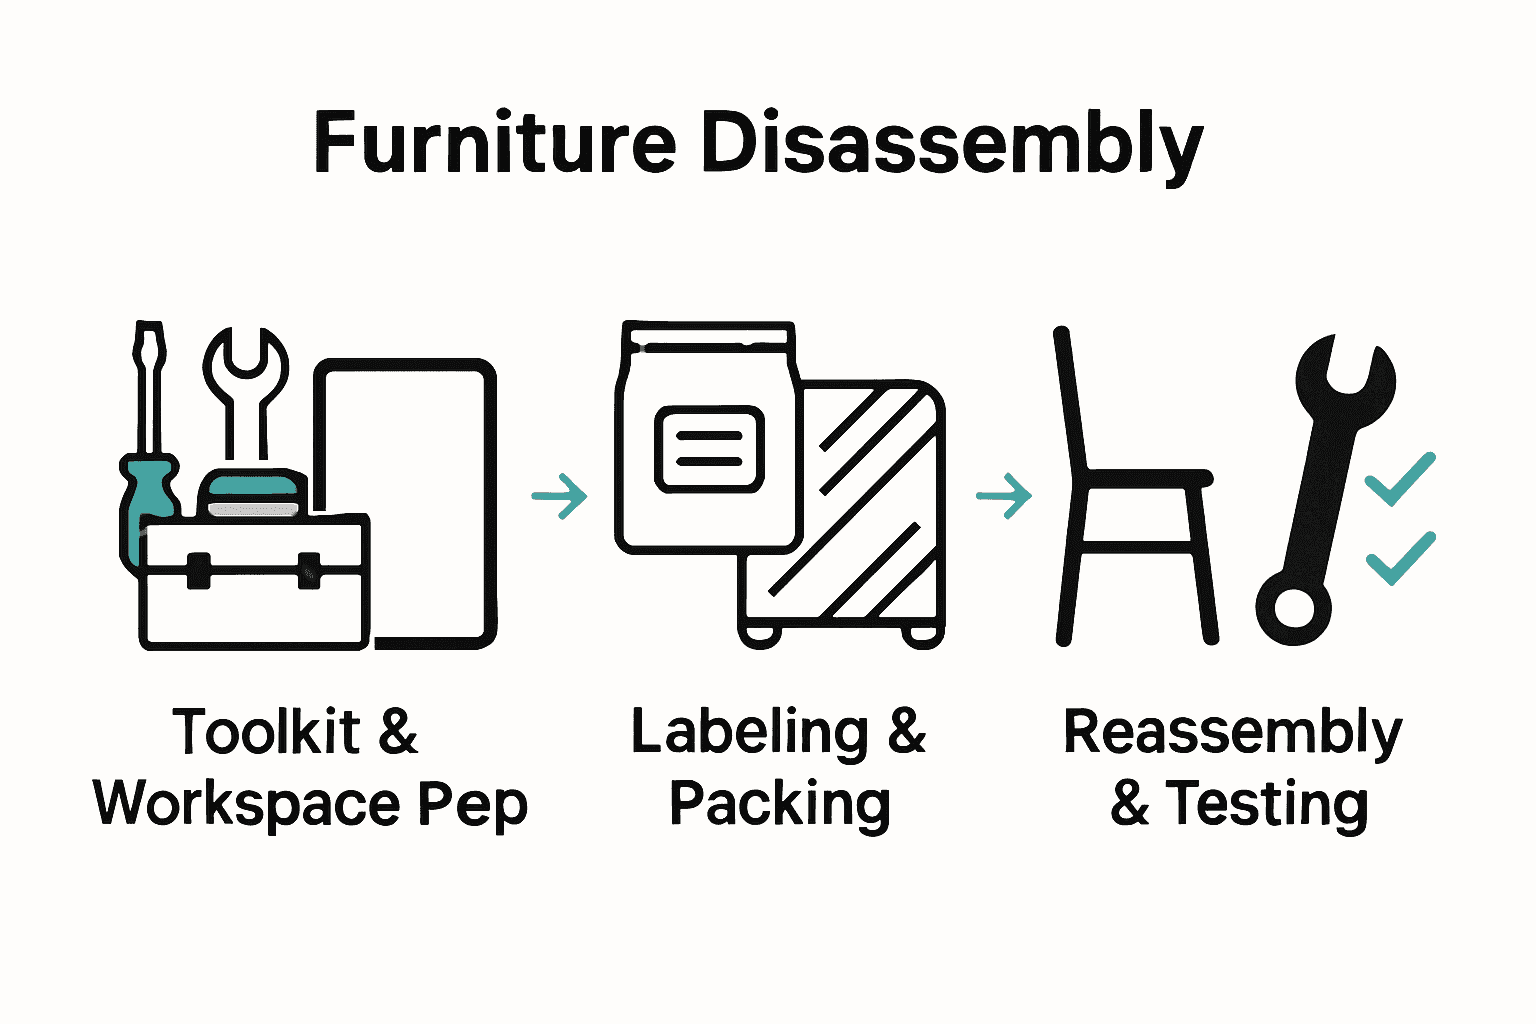
Before you start dismantling furniture, successful preparation means gathering the right tools and creating a strategic workspace. Think of this as your mission control for smooth furniture disassembly.
First up, let’s talk toolkit. According to Book a Move, you want an arsenal that includes essential items like screwdrivers with multiple head types, allen keys for those tricky furniture connections, an adjustable wrench for tightening and loosening, and a soft hammer or rubber mallet for gentle persuasion. Pro tip: grab some ziplock bags, packing tape, and permanent markers to keep track of all those small parts.
Workspace preparation is just as crucial. As recommended by We Move Group, clear out a spacious area and protect your floors. Spread moving blankets or thick padding to prevent scratches and create a safe working zone. You want enough room to manoeuvre without bumping into things or risking damage to your furniture or flooring.
Here’s a comparison of recommended tools and workspace preparation tips:
| Toolkit Essentials | Purpose | Workspace Preparation | Purpose |
|---|---|---|---|
| Screwdrivers (various heads) | Remove screws | Clear, spacious area | Safe manoeuvring |
| Allen keys | For flatpack joints | Moving blankets/pads | Floor protection |
| Adjustable wrench | Tighten/loosen bolts | Good lighting | Prevent accidents |
| Rubber mallet | Gentle tapping | Free from clutter | Prevent damage |
| Ziplock bags & markers | Organise hardware | Packing tape for parts | Keep items together |
Warning: Always work in a well lit area with plenty of space to prevent accidental damage or personal injury.
With your toolkit ready and workspace prepped, you are now set to begin the strategic disassembly of your furniture. The next steps will guide you through careful deconstruction that will make your moving process smoother and more organised.
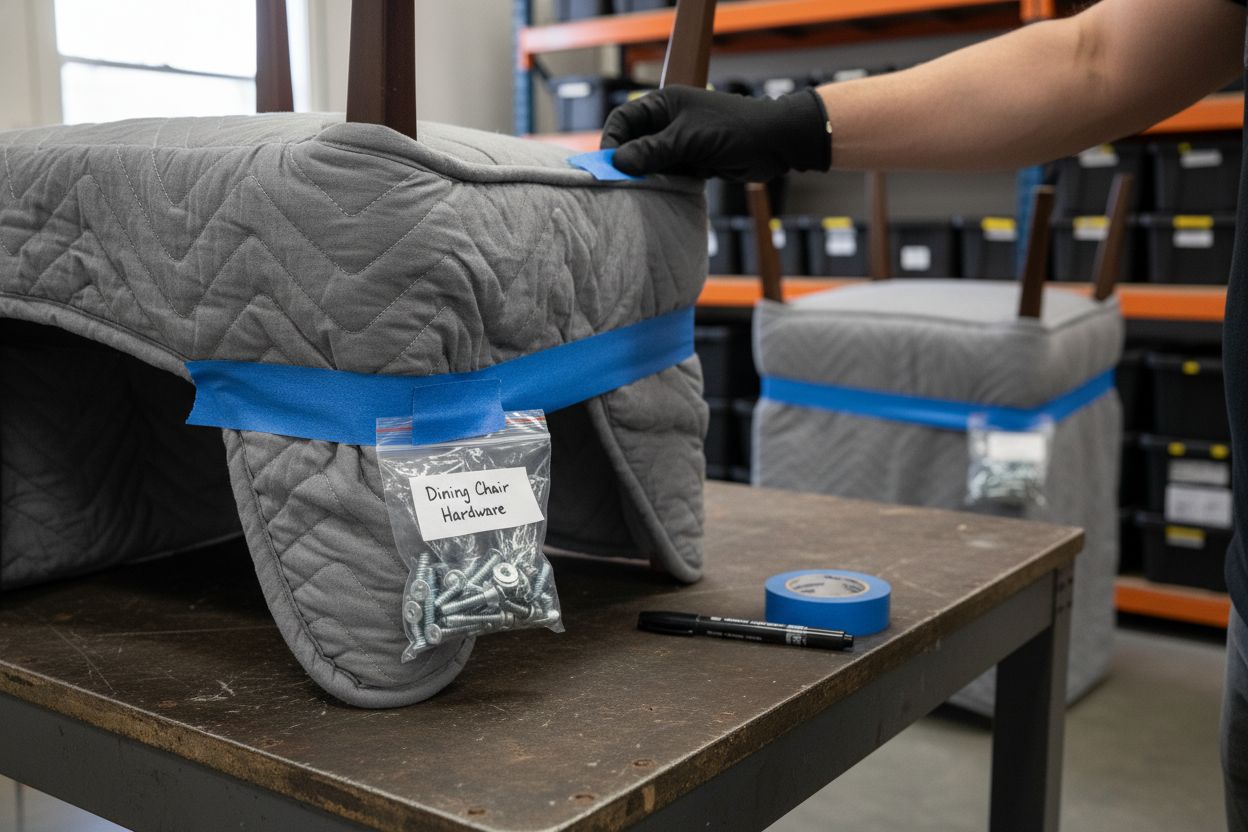
According to Book a Move, start by taking detailed photographs of your furniture before you begin disassembling. These visual references will be your roadmap later. Grab your painter’s tape and ziplock bags and get ready to become a furniture labelling expert. As you remove each component label it precisely for example “left leg dining table” or “top drawer master bedroom dresser”. This might seem excessive but trust me your future self will thank you.
We Move Group recommends recording the disassembly process via photos or videos. Take special care with delicate parts like glass panels or drawers. Wrap these components individually and place corresponding hardware in clearly marked ziplock bags.
 Pro tip: place a small piece of the labelled tape on the bag and the wrapped item so you can match them quickly.
Warning: Keep all small hardware like screws bolts and Allen keys in separate clearly labelled containers to prevent losing these critical pieces.
With your furniture carefully dismantled and meticulously labelled you are now ready for the next stage of your moving adventure. Learn more about efficient box labelling to complement your furniture preparation strategy.
Now that your furniture is carefully dismantled you are entering the critical phase of protection and preparation. Your mission is to wrap pack and secure every piece so it arrives at your new home in pristine condition.
According to Vellavan, start by wrapping each disassembled part in moving blankets or protective pads. Remember those ziplock bags with hardware you prepared earlier? Tape these directly to the corresponding furniture piece. This prevents those tiny screws from getting lost in the moving chaos.
Melbourne Cheap Movers recommends investing in quality packing materials. Bubble wrap becomes your best friend for glass surfaces and delicate wood elements. Wrap each component individually ensuring no exposed edges or corners that might get bumped or scratched during transit. Use packing paper to fill any empty spaces in boxes and prevent internal shifting.
Warning: Never overload boxes. Distribute weight evenly and keep each container manageable to prevent potential injuries or damage.
For drawers and doors that cannot be fully removed secure them with stretch wrap or painters tape to prevent unexpected openings during the move. Learn more about choosing the right packing materials to ensure maximum protection for your belongings.
With your furniture meticulously wrapped and packed you are now ready for the next exciting stage of your moving journey.
The moment of truth has arrived. Reassembling your furniture requires patience strategy and those brilliant photos you took during disassembly. Think of this as solving a three dimensional puzzle where every piece has its perfect place.
According to Book a Move, start by referencing the photographs you carefully captured during the initial disassembly. These visual guides will be your roadmap back to furniture functionality. Pull out those labelled ziplock bags with hardware and begin with your most essential items first. Essential means pieces you will need immediately like bed frames dining tables or key storage units.
We Move Group recommends laying out all parts systematically before beginning. Follow the reverse order of your original disassembly process which means starting with the foundational pieces and working your way up. Double check that all screws bolts and connectors match their original locations. Take your time and resist the urge to rush.
Warning: Never force parts together. If something does not fit smoothly you might be attempting to connect the wrong components.
Check out our comprehensive guide on furniture disassembly for additional insights into making this process smooth and stress free. With patience and careful attention you will soon have your furniture restored to its former glory ready to make your new space feel like home.
Congratulations on reassembling your furniture. Now comes the critical phase of ensuring everything is secure safe and ready for daily use. Your goal is to transform those carefully packed pieces back into functional reliable furniture.
According to Smooth Moves, safety checks are paramount after reassembly. Start by visually examining each piece for alignment and symmetry. Gently apply pressure to different points and check for any wobbling or unexpected movement. Pay special attention to joints and connection points where pieces come together.
As recommended by Book a Move, tightening bolts and screws is crucial but do this strategically. Wait a few days after initial assembly and then do a second round of tightening. This allows the furniture to settle and reveals any areas that might need additional adjustment. Think of it like breaking in a new pair of shoes your furniture needs time to find its perfect fit.
Warning: If any piece feels unstable or makes unusual sounds when used stop and recheck your assembly process.
Once stability is confirmed take a moment to clean and polish surfaces. Learn more about protecting your furniture during moves to ensure long term preservation. Your methodical approach has transformed a potential moving challenge into a successful furniture restoration project.
Struggling with the stress of furniture disassembly and reassembly while moving? We understand how important it is to avoid lost screws, accidental damage and endless confusion on move-in day. This article has shown the importance of careful labelling, smart packing and systematic assembly—yet even with all the right steps, moving is still a massive undertaking.
Why risk delays or lost parts when you can get expert help? The Onyx Removals team in Melbourne specialises in furniture disassembly, packing and reassembly, removing uncertainty and saving you valuable time. We use professional packing materials and label everything with precision for your peace of mind. Book your tailored, stress-free moving service today at Onyx Removals and experience a safer, smoother relocation. Ready to make your move effortless? Reach out now and let our experts take care of every detail.
To prepare your workspace, clear a spacious area and protect your floors with moving blankets or thick padding. Make sure you have good lighting and ample room to maneuver without risks of damaging furniture or the floor.
Essential tools include screwdrivers with multiple head types, allen keys, an adjustable wrench, and a rubber mallet. Gather these tools in advance to streamline your furniture disassembly process and keep your workflow efficient.
Label each part as you disassemble it, noting details like “left leg dining table” or “top drawer master bedroom dresser”. Use painter’s tape to identify parts and ziplock bags to store small hardware, ensuring everything is organized for reassembly.
Wrap each disassembled part in moving blankets or protective pads to prevent damage. Secure hardware bags directly to the corresponding furniture pieces to keep everything together during the move.
After reassembling your furniture, visually inspect each piece for alignment and gently test for wobbling. Make sure to tighten screws and bolts strategically, waiting a few days to do a second round of adjustments as the furniture settles.
If any piece feels unstable, stop using it and recheck your assembly process for misaligned parts. This includes ensuring all screws and bolts are tightened correctly; if minor adjustments don’t resolve the issue, consider disassembling and reassembling again.
No Related Post


