


Moving into a new apartment in Melbourne often means juggling endless details, uncertainty, and a tight timeline. With landlords, real estate agents, and essential services all expecting action in your first week, forgetting just one step can lead to costly problems. A well-organised move-in checklist gives you clarity, safeguards your bond, and helps you manage legal paperwork and property standards from day one. Get ready to settle in smoothly and stay protected at every stage.
| Point | Details |
|---|---|
| Importance of a Checklist | A move-in checklist is essential for preventing missed tasks and protecting your rental experience. |
| Documenting Apartment Condition | Thoroughly document the apartment’s condition with photos and reports to safeguard your bond. |
| Understanding Your Rental Agreement | Carefully read and understand your rental agreement to ensure clarity on terms, rights, and responsibilities. |
| Setting Up Utilities Promptly | Arrange utility connections ahead of move-in day to avoid issues and ensure your services are activated on time. |
A move-in checklist is your roadmap for settling into a new Melbourne apartment without missing critical tasks. Rather than treating it as optional paperwork, think of it as protection for both you and your rental experience.
Moving involves dozens of details. Without a checklist, you’ll likely forget something important. That forgotten task often shows up later as a problem you can’t easily fix.
Melbourne’s rental market moves fast. Landlords and real estate agents handle multiple properties simultaneously. If you don’t document the apartment’s condition, follow legal procedures, or set up utilities on time, you’re operating blind.
A proper checklist ensures you:
A comprehensive checklist prevents costly disputes later and saves you time navigating overlapping tasks during the moving period.
A solid move-in checklist covers three broad areas: pre-arrival tasks, day-one activities, and first-week administration.
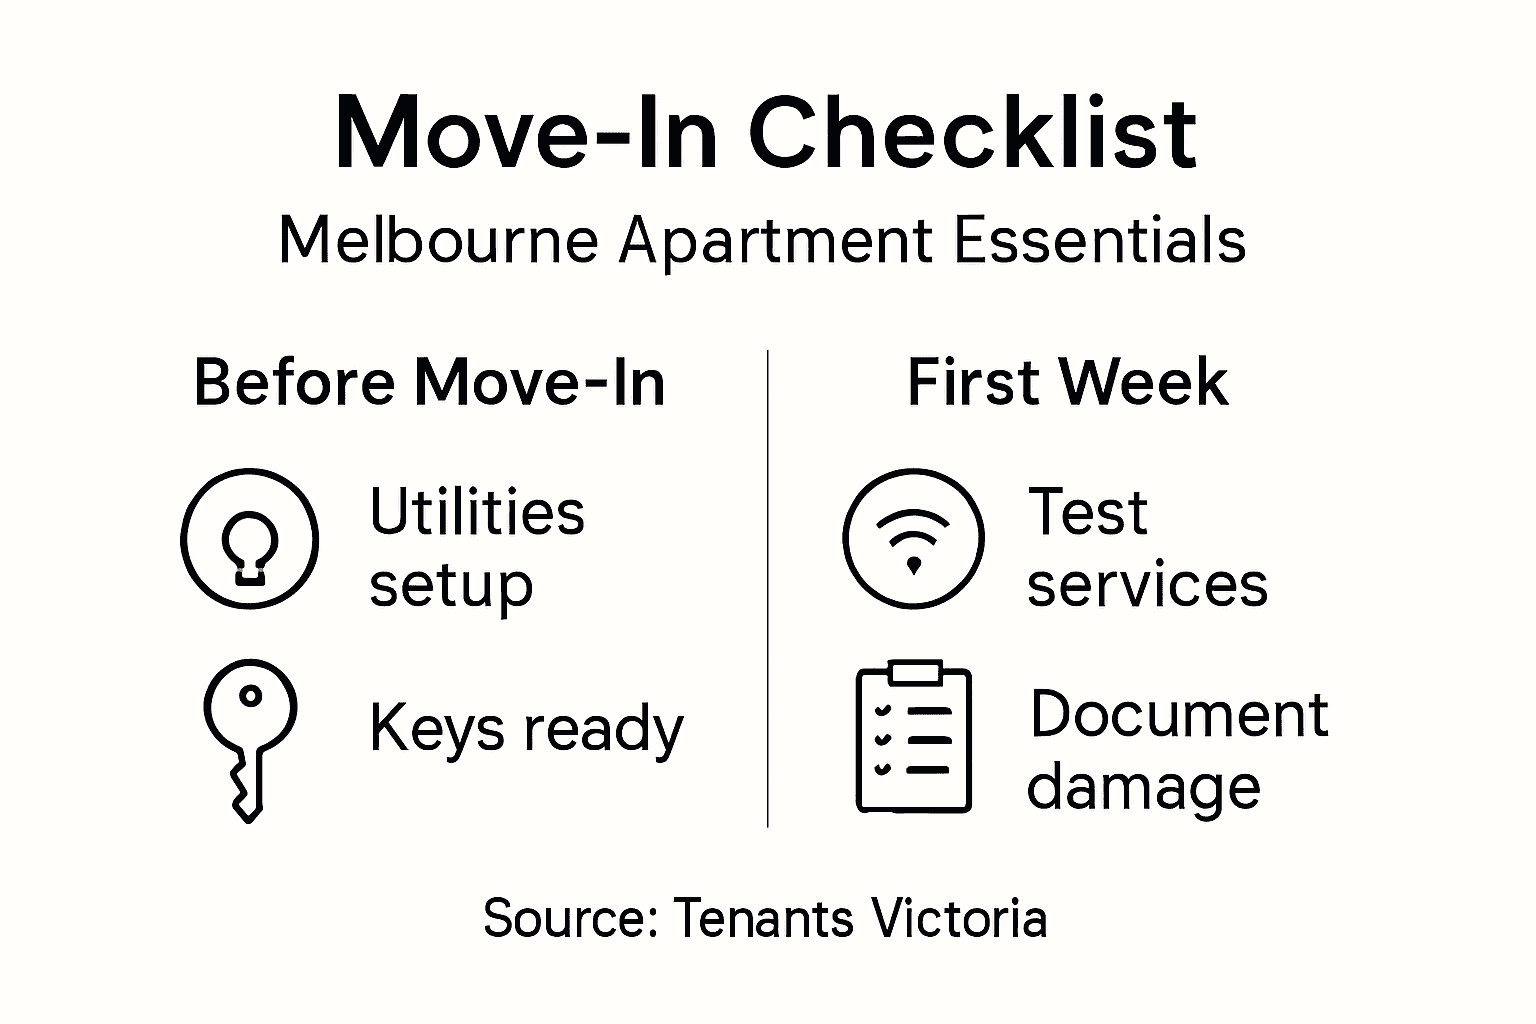
Pre-arrival means confirming your keys are ready, understanding the property’s access procedures, and arranging utility connections. Day-one includes taking photos of the apartment’s condition and checking appliances work. First-week tasks involve updating your address with government services, registering for utilities, and meeting neighbours.
Many renters skip the documentation step entirely, then regret it when the landlord claims damage you didn’t cause. That’s the biggest checklist mistake.
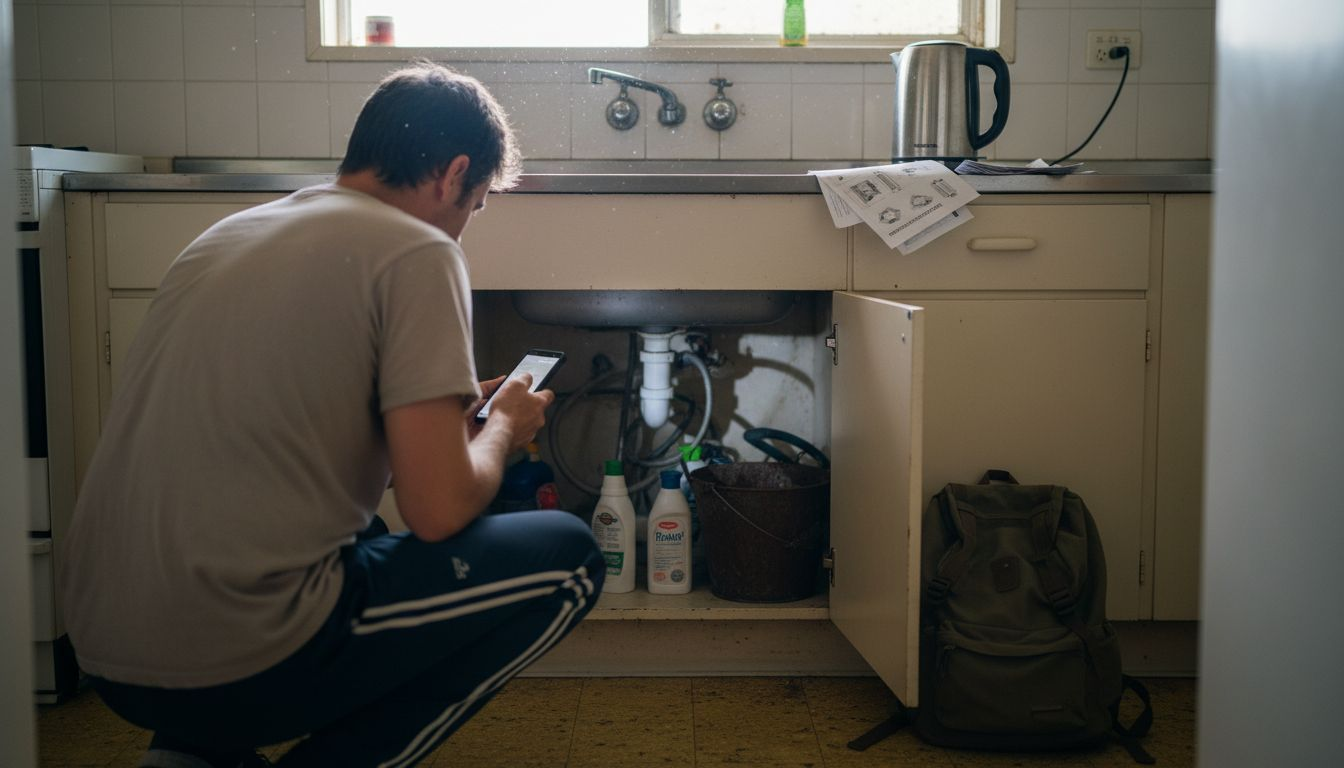
Inspecting the apartment thoroughly matters most. Walk through every room with your phone camera. Check under sinks, inside cupboards, and along walls for existing damage. Document the condition in photos and a written report.
Compare the apartment to the settling in guidance provided by migration support services, which emphasises understanding your rental costs and neighbourhood resources. This parallels your move-in checklist approach.
Other non-negotiable items include:
Don’t try to complete everything simultaneously. Spread tasks across your first week.
Handle urgent items immediately: utilities, key collection, and safety checks. Administrative tasks like address changes can wait a few days. Service setups (internet, mail redirects) can occur in your second week without causing problems.
This staged approach reduces overwhelm and catches issues early.
Here’s a breakdown of how move-in checklist tasks align with your first week in a new apartment:
| Day/Period | Key Focus | Example Tasks |
|---|---|---|
| Pre-arrival | Preparation and access | Arrange keys, confirm utility connections |
| Day-one | Property documentation | Photograph condition, test appliances |
| First week | Administration and settling | Update address, meet neighbours |
Pro tip: Use your phone’s notes app to photograph every part of the apartment and list issues you find, then email this documentation to your real estate agent within 24 hours as your official condition report.
Your rental agreement is the most important document you’ll sign as a Melbourne tenant. It legally binds you and your landlord to specific terms, rights, and responsibilities. Without it, you have no legal standing if disputes arise.
Many renters treat the agreement as just paperwork to sign quickly. That’s a mistake. Take time to understand what you’re agreeing to before you sign anything.
Various types of residential rental agreements exist in Victoria, including fixed-term and periodic agreements. Each type has different rules and protections. Fixed-term agreements lock you in for a set period, while periodic agreements roll month-to-month after the initial term ends.
Your agreement must clearly state:
A properly documented rental agreement protects both you and your landlord by setting clear expectations from day one.
Don’t wait until you’re locked in the apartment to ask for key documents. Request these before signing anything.
Your landlord or agent must provide a copy of your signed lease agreement. Ask for the bond lodgement receipt, which proves your bond was registered with the correct authority. Request the property condition report and any existing maintenance records.
If you’re applying for government assistance, proof of your rental arrangement becomes essential for verifying your eligibility. Keep all documentation organised in one folder.
Read your agreement line by line. Don’t skip the fine print.
Look for clauses about:
If something doesn’t make sense, ask your agent or landlord to explain it. Consumer Affairs Victoria provides guides on your rights, but asking directly avoids confusion later.
Keep originals in a safe place at home. Create digital copies on your phone or cloud storage.
You’ll need these documents for bond disputes, rental references for future applications, and government assistance claims. Losing them creates unnecessary stress when you need proof of your tenancy.
Organise documents by category: rental agreement, bond receipt, condition reports, correspondence with your landlord, and maintenance records.
Pro tip: Photograph every page of your signed lease agreement and bond receipt immediately after receiving them, then email yourself copies to ensure you have backups if originals get damaged or lost.
Your first few hours in the apartment are the most important. This is when you document everything before you unpack a single box. Whatever condition the apartment is in now becomes your baseline for the entire tenancy.
Skip this step, and you’ll regret it when the landlord claims you caused damage you didn’t actually create.
Minimum standards for rental properties cover safety, repairs, plumbing, heating, and structural integrity. Your apartment should meet these standards before you move in. If it doesn’t, report issues immediately.
During your inspection, check:
Documenting the apartment’s condition on day one protects your bond and prevents disputes about pre-existing damage later.
Take photos of every room, including corners, ceilings, and the floor. Video walk-throughs work even better because they capture context and movement. Use your phone’s built-in camera and date-stamp the files.
Photograph damage close-up and wide-shot. Include the room’s corners and any existing wear. If the lighting is poor, take photos at different times of day to capture true colours.
Don’t edit or filter your photos. Landlords want to see the actual condition, not a polished version.
Photos alone aren’t enough. Write down specific details about every issue you find. Include the room, the problem, and where exactly it’s located.
Example: “Bedroom 1 wall, left side of window: 5cm horizontal crack in plaster. Living room carpet: 30cm stain near sofa position.”
Be specific. Generic descriptions like “wall damaged” won’t protect you if the landlord disputes your bond refund.
Compare your documentation with the official property condition report. Your landlord or agent must provide this before you move in. If they haven’t, request it immediately.
Highlight any differences between your findings and theirs. If they’ve recorded damage you didn’t notice, ask them to clarify. If you’ve found damage they haven’t recorded, photograph it and email them your findings.
Getting agreement on the property’s condition upfront saves enormous stress later.
Don’t wait weeks to report problems. Email your real estate agent within 48 hours of move-in, listing everything you’ve found. Include photos and your written report.
This creates a dated record showing what was wrong when you arrived. It’s your protection if disputes arise during bond refunds.
Pro tip: Create a folder on your phone labelled “Apartment Inspection” with all photos and videos, then immediately email yourself the full batch with a timestamped email as your official records to reference later.
Utilities don’t magically turn on when you move in. You need to actively switch them to your name and confirm they’re connected. Waiting until you’re in the dark apartment with no hot water is a lesson nobody wants to learn.
Start the process before move-in day so services activate when you arrive, not days later.
Contact electricity, gas, water, and internet providers at least two weeks before moving. Many require notice periods before disconnecting from the previous tenant and connecting to you.
You’ll need your new address, move-in date, and identification to start the process. Some providers offer online setup through their websites, whilst others require phone calls. Ask about setup fees, connection costs, and whether any promotional discounts apply.
Essential utilities like electricity, gas, and water must be functional before you move in, and it’s your responsibility to ensure they’re activated.
Track which services you’ve contacted and their status. You’ll forget which provider you called without a written list.
Create a simple checklist:
Keep this list in your apartment documents folder alongside your lease.
Missing even one utility connection on move-in day creates unnecessary stress and potential safety issues in your new home.
When you arrive at the apartment, test every utility immediately. Turn on taps, check hot water, flip light switches, and test the stove. If anything doesn’t work, contact the provider that day.
Document which services are working and which aren’t. If the landlord claimed utilities were connected, take photos showing non-functional services and email your agent immediately.
You’re responsible for utility costs from your move-in date onwards. Set up billing so you receive bills under your name. Most providers allow you to choose payment methods: direct debit, credit card, or mail.
Direct debit is usually easiest because it’s automatic. You won’t accidentally miss a payment and rack up late fees.
If finances are tight, utility concessions and rental assistance programs exist in Melbourne to help eligible renters reduce their bills.
Store provider phone numbers and online account access information somewhere accessible. You’ll need these for account queries, outages, or billing disputes.
Write down account numbers, customer reference numbers, and usernames for online portals. Screenshot your online account pages for backup.
Pro tip: Contact all utility providers in a single day, scheduling them back-to-back with 30-minute gaps so you don’t need to be home all day, and request all connection dates to align with your move-in date.
Victorian rental law exists to protect you. The catch? You need to know what those protections actually are. Landlords won’t always volunteer information about your rights, and some will include illegal clauses in agreements hoping you won’t notice.
Understanding the law prevents costly mistakes and protects your bond.
Recent changes to rental laws include bans on no-fault evictions, minimum property standards, expanded notice periods, and prohibitions on rental bidding. These protections exist specifically to balance the relationship between landlords and tenants.
You have rights around:
Your lease cannot contain clauses that contradict Victorian tenancy law, even if you sign them. Illegal clauses are unenforceable.
Read your agreement carefully. If you see clauses about excessive bond amounts, unrestricted landlord entry, or responsibility for structural repairs, those are likely illegal.
Common illegal clauses include demanding rent beyond the legal bond amount, requiring you to pay for normal wear and tear, or preventing you from having guests. Don’t sign an agreement containing these conditions.
If your landlord insists on illegal clauses, contact Tenants Victoria for legal advice before proceeding.
To help you avoid common problems, here’s how to recognise and respond to illegal lease clauses:
| Red Flag Clause | Why It’s a Problem | Correct Action |
|---|---|---|
| Excessive bond demands | Breaches legal bond maximum | Ask for clause removal, seek advice |
| Unrestricted landlord entry | Violates tenant’s privacy rights | Refuse to sign, cite tenancy law |
| Pay for structural repairs | Shifts owner’s duty to tenant | Request correction, consult authorities |
Most problems arise from preventable mistakes. Not documenting the property condition, failing to report repairs, and ignoring inspection notices create disputes later.
Other costly pitfalls include:
Text messages, emails, and written letters create a record. Verbal conversations don’t. If your landlord says something important, follow up with an email summarising what was discussed.
Keep all communications about repairs, inspections, disputes, and agreements. These documents protect you if disagreements escalate to formal disputes.
If your landlord violates your rights or includes illegal clauses, don’t ignore it. Contact Tenants Victoria or Consumer Affairs Victoria early rather than waiting until problems worsen.
Many disputes become expensive legal battles because renters waited too long to address problems. Acting quickly prevents escalation.
Pro tip: Before signing any lease, photograph or screenshot every page, then send the full document to yourself via email as a timestamped backup and comparison point if disputes arise later.
Moving into a new apartment in Melbourne can be overwhelming with so many tasks like documenting property condition, setting up utilities, and understanding your rental agreement. The Apartment Move In Checklist is essential to protect your bond and avoid disputes, but managing it alongside packing and relocation adds extra pressure. That is where professional assistance can make all the difference.
Onyx Removals specialises in tailored moving solutions designed to reduce stress and streamline your relocation. Whether you need help with residential removals, packing and unpacking, or storage options, their experienced team ensures you can focus on key checklist tasks like inspecting your apartment and settling in smoothly. Combining a well-planned move with reliable support means no detail gets missed, from utility setups to protecting your rental rights.
Ready to make your Melbourne move organised and hassle-free? Visit Onyx Removals today to explore personalised moving plans and expert services that align perfectly with your apartment move-in checklist. Act now and take the first step towards a seamless moving experience that keeps your new home journey on track.
A move-in checklist is a detailed list of tasks to complete before, during, and after moving into a new apartment. It helps ensure that you don’t forget important details such as documenting the property’s condition, setting up utilities, and understanding your rental agreement.
Documenting the condition of the apartment protects your bond by providing evidence of any pre-existing damage. This documentation can avoid disputes with your landlord when it comes time to receive your bond back at the end of your tenancy.
Before moving in, it’s important to request your signed lease agreement, bond lodgement receipt, property condition report, and any maintenance records. These documents are essential for understanding your tenancy rights and responsibilities.
To set up utilities, contact providers well in advance of your move-in date. You typically need to inform them of your new address and provide identification. It’s important to confirm that all essential utilities, such as electricity and water, are activated before you move in to ensure you have a functioning home upon arrival.
No Related Post


